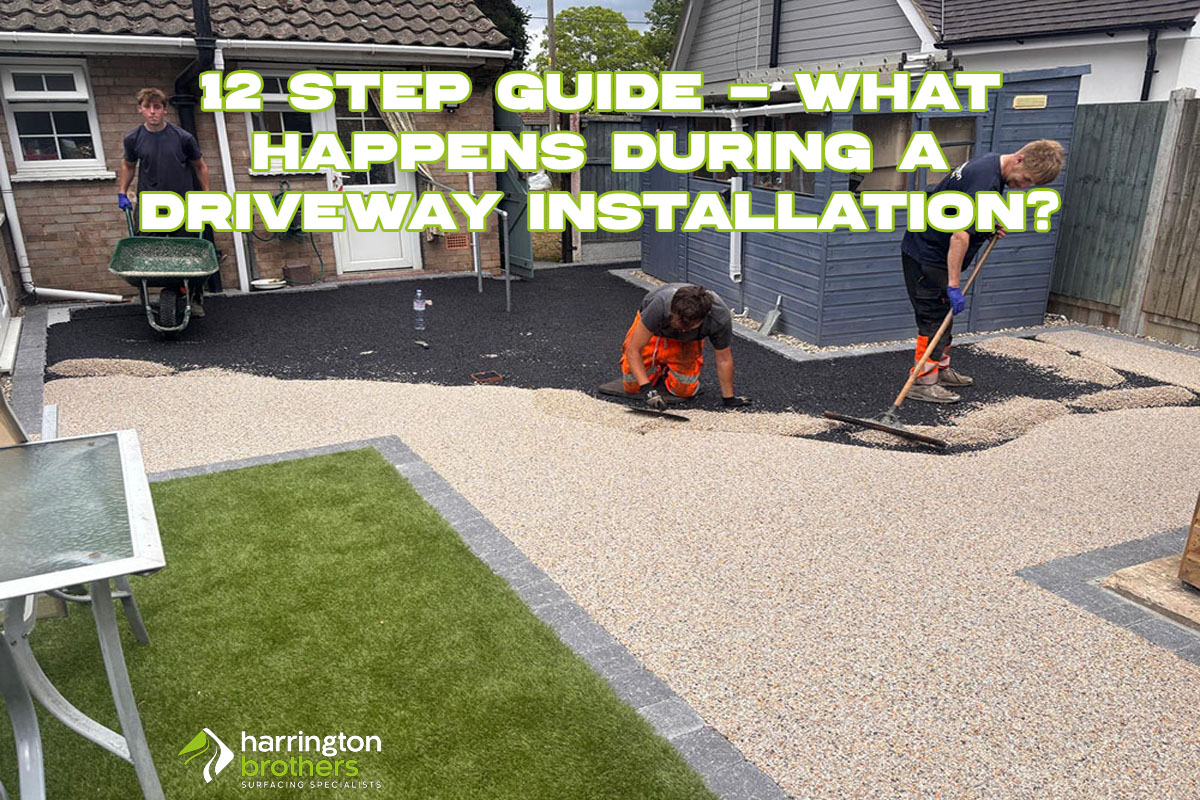
A professionally installed driveway can transform the appearance of your home, improve functionality, and increase property value.
But what actually happens during the installation process?
Understanding each stage helps you prepare properly and ensures you get the best results.
Whether you’re considering a tarmac driveway, resin bound surface, or another material, this step-by-step guide explains the full driveway installation process from start to finish.
1. Initial Consultation and Site Assessment
Every driveway installation begins with a site visit from one of our skilled team.
During this stage, the contractor will assess:
- The current ground condition – existing concrete, grass, gravel, or an old failed driveway
- Drainage requirements – essential for preventing flooding and surface water issues
- Access and boundaries – drive width, obstacles, and property lines
- Levels and gradients – ensuring the driveway slopes correctly away from the property
- Your preferred material – tarmac, resin bound, gravel, block paving, etc.
At Harrington Brothers Ltd, we also provide recommendations based on your budget, property style, and long term maintenance expectations.
2. Planning, Measurements & Quotation
Once the assessment is complete, you’ll receive a detailed quotation outlining:
- Material costs
- Groundwork requirements
- Drainage solutions (if needed for SuDS compliance)
- Waste removal
- Installation timeline
A clear plan helps avoid surprises and ensures the driveway is designed to last.
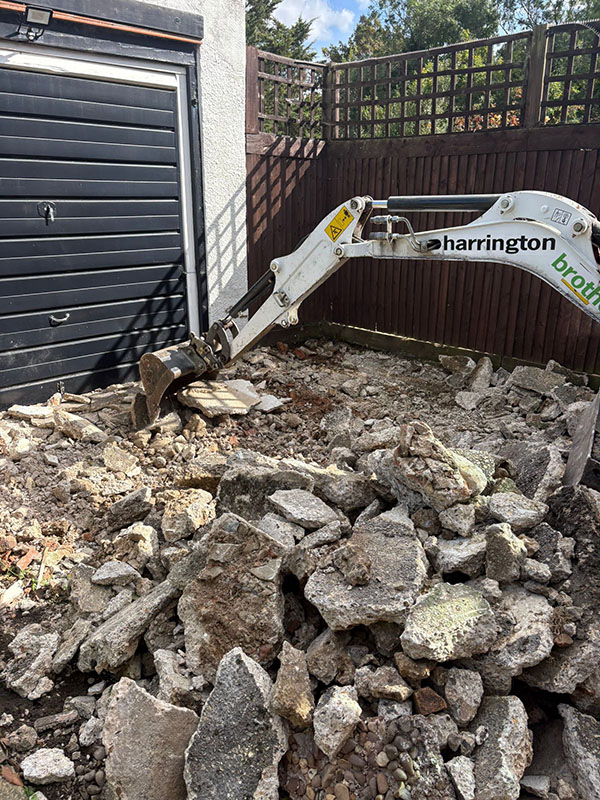
3. Removing the Old Driveway (Excavation Stage)
The first major stage of physical work involves excavation.
This includes removing:
- Old tarmac or concrete
- Loose gravel or soil
- Vegetation and roots
- Damaged sub-base or unstable layers
Most driveways are excavated to a depth of around 100 – 300mm depending on soil type and chosen material.
All waste is then removed from site using our own vehicles or grab lorries.
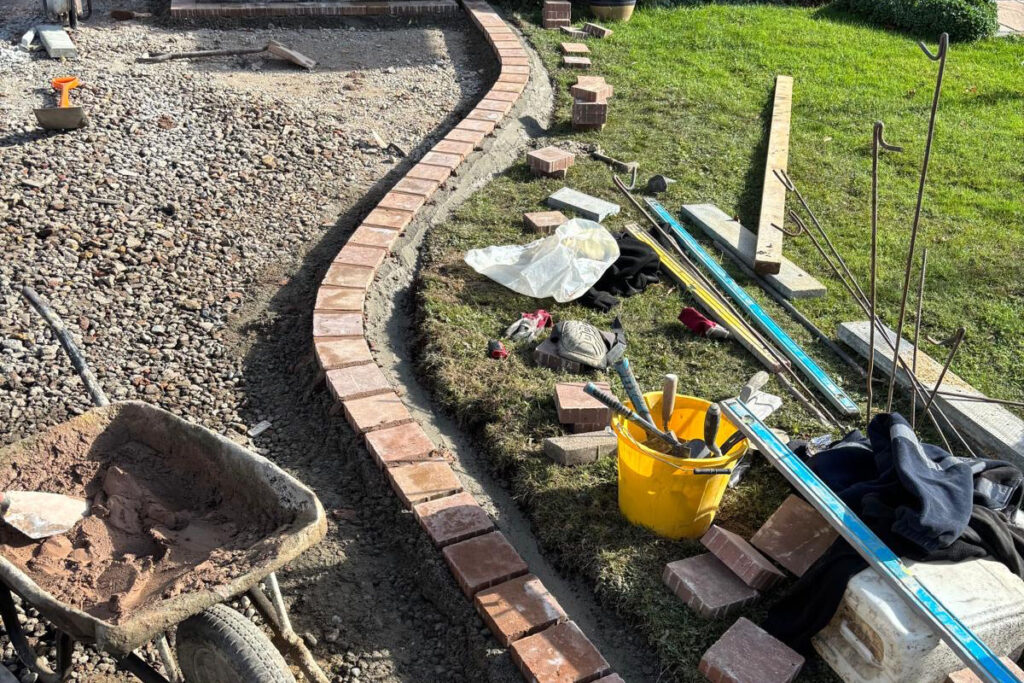
4. Installing Edging and Borders
Edging plays a vital role in both appearance and structural stability.
Options include:
- Block edging
- Stone or granite sets
- Timber edging
- Concrete kerbs / edging
Edging keeps the driveway material contained, prevents spreading, and adds a clean finish to the driveway borders.
5. Preparing the Sub-Base Layer
A strong driveway is only as good as its foundation. The sub-base is the most important structural layer, and it’s essential for supporting vehicles and preventing surface cracks.
The most commonly used material is MOT Type 1 crushed stone, compacted to form a solid and stable base.
Key benefits of a proper sub-base include:
- Improved load bearing strength
- Reduced risk of sinking or shifting
- Enhanced drainage
- Long term durability
This layer is compacted using a vibrating plate (whacker plate) or roller to meet required density standards.
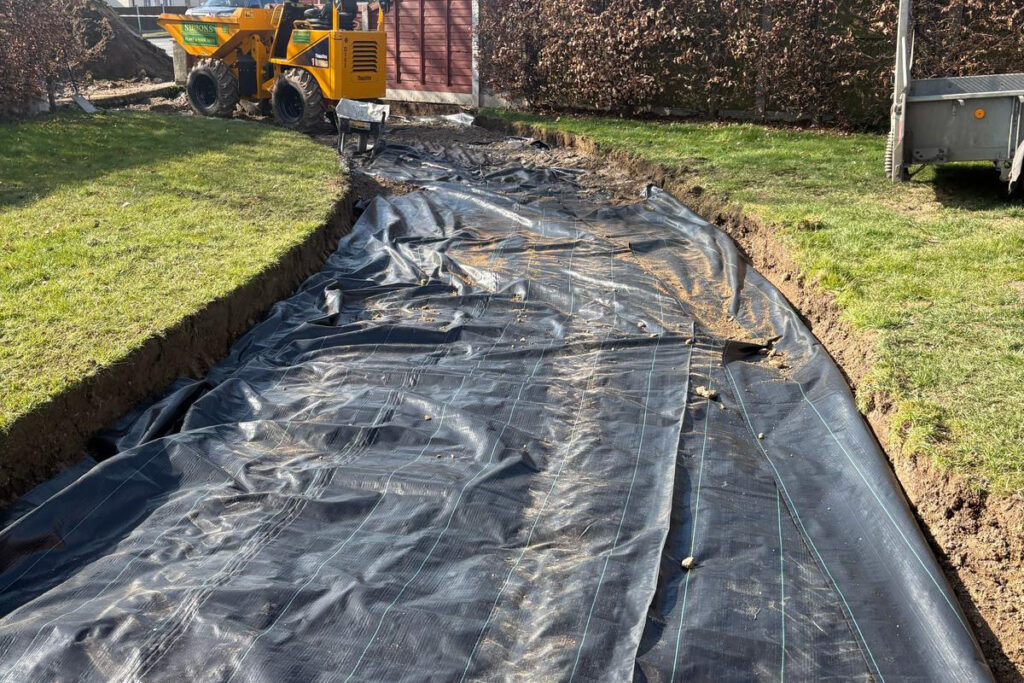
6. Installing a Weed Membrane (Optional but Recommended)
Before laying the main driveway surface, a geotextile membrane is sometimes installed depending on project specifics.
This helps prevent weed growth while still allowing water to drain naturally.
It’s especially beneficial under gravel driveways.
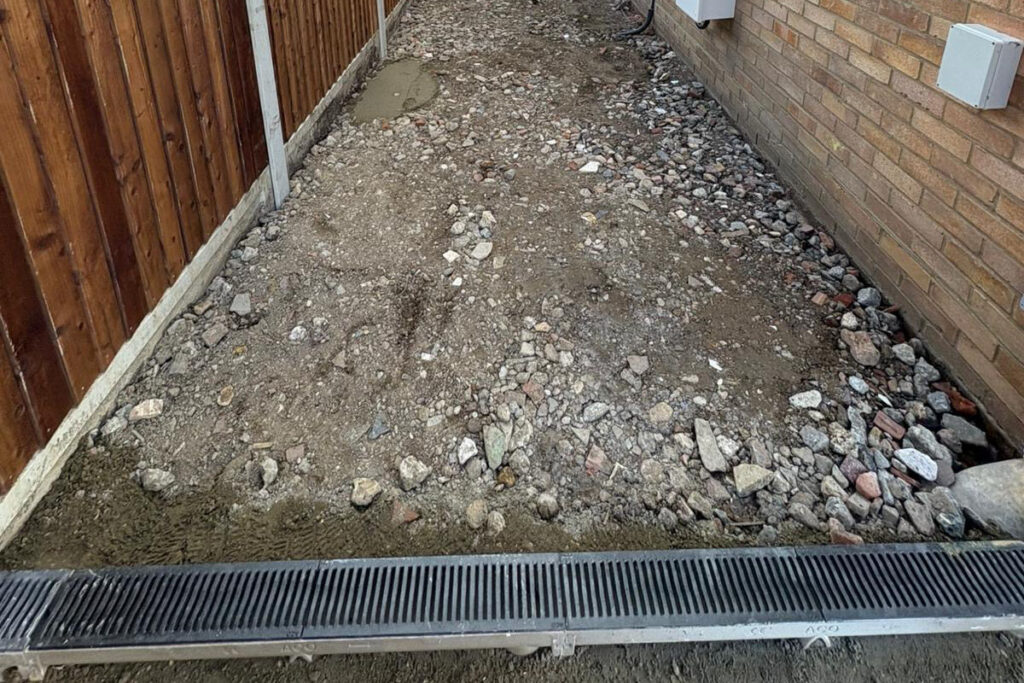
7. Creating Proper Drainage Solutions
Effective drainage is essential. Without it, you risk water pooling, flooding, and long term damage to your driveway.
Depending on the driveway type, your installer may add:
- Linear drains (ACO)
- Soakaways
- Permeable sub-base
- Gradient adjustments
Resin bound driveways are naturally permeable and often do not require additional drainage, making them ideal for homes struggling with standing water.
8. Applying the Binder or Base Layer
This stage varies depending on the chosen driveway material:
For Tarmac Driveways:
- A tarmac base course is laid and compacted.
- This acts as a supportive middle layer before the final top coat.
For Resin Bound Driveways:
- A solid concrete or tarmac base is required.
- This ensures the resin surface doesn’t shift or crack over time.
For Block Paving:
- A layer of sharp sand is levelled and compacted known as the screed.
Each driveway material requires a specific base to maximise longevity.
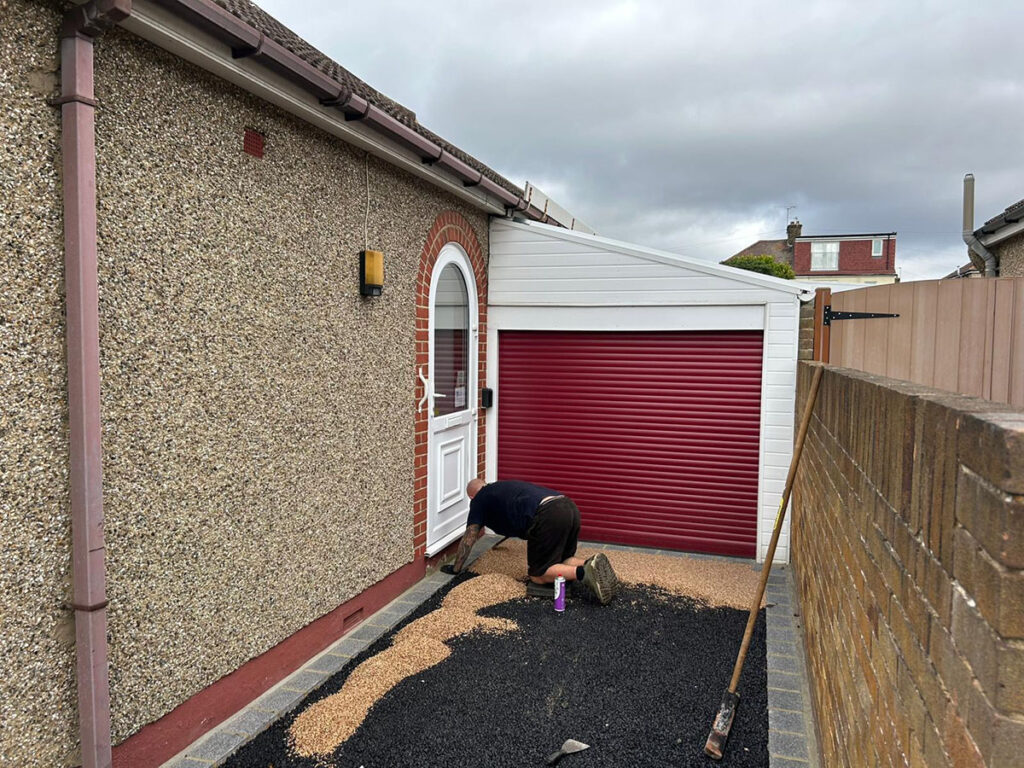
9. Laying the Final Surface
This is the stage where the driveway finally starts to take shape.
For Tarmac Driveways:
- Hot tarmac is laid evenly across the prepared surface.
- A roller compacts it to create a smooth, durable finish.
For Resin Bound Driveways:
- UV-stable resin is mixed with aggregate stones on site.
- The mixture is spread and trowelled to create a seamless finish.
- No joins or gaps – just one smooth, permeable surface.
The final finish is typically completed in one continuous application for best results, job depending.
10. Finishing Touches & Clean Up
To complete the driveway installation, your contractor will perform final checks and finishing touches such as:
- Cleaning the site
- Checking drainage flow
- Ensuring smooth and even levels
- Inspecting edging integrity
- Applying sealing (if applicable)
Once finished, the driveway is ready to use – although resin and tarmac surfaces may require a short curing period.
11. How Long Does a Driveway Installation Take?
While the timescale varies based on material, square meterage and weather conditions, most driveways take:
- Tarmac driveways: 1 – 3 days
- Resin bound driveways: 2 – 4 days (plus curing time)
- Block paving: 3 – 7 days
Larger or more complex installations may take longer, especially if extensive excavation or drainage solutions are required.
12. Aftercare and Maintenance Tips
To keep your new driveway looking its best, follow these simple care guidelines:
- Avoid parking heavy vehicles for the first 24 – 48 hours (tarmac & resin)
- Clean spills quickly to avoid staining
- Keep edges free from overgrowing plants
- Power wash resin driveways annually or bi-annually
- Reseal tarmac every 3 – 5 years
With proper care, your driveway can last 15 – 20 years or more.
Exceptional Driveway Installations in Essex, London, Hertfordshire and Kent
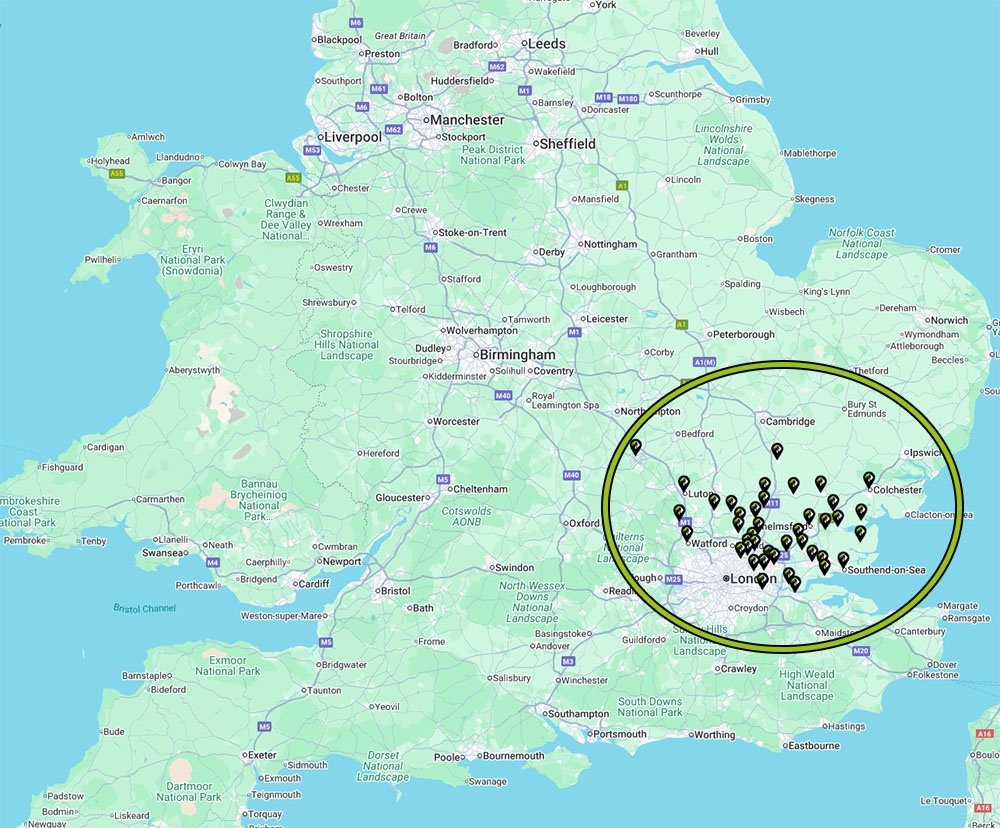
At Harrington Brothers Ltd, we provide expert driveway installations across Essex, London, Hertfordshire, Kent and surrounding areas.
Whether you’re looking for a resin bound driveway, tarmac surfacing, block paving or local authority works, our team delivers durable, long lasting, exceptional results.
Contact us today or request a call back for a free quotation and expert advice.


